
The number one question i always get asked is:
“How do you get your curls to look like that?” followed by “What products do you use?”
In today’s post, i am spilling allllll the beans on my go to Wash-and-Go! Showing you everything from products that i use, the step by step process that i take, as well as insuring that you have the right type of products for your hair type to achieve the best wash and go possible.
If you haven’t read my previous post ” What is your hair type?” Click the link to read before moving forward
NOW THE JUICY BIT!
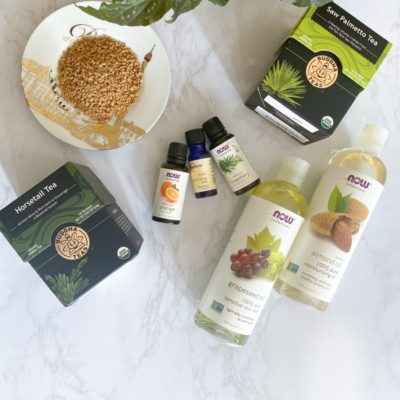
Products and Process:
A normal wash day for me takes about 2 hours to complete (minus drying time)
My hair type is a 3C/4A mix. I say this because the nape of my head and lower ¾’s hair texture is a very tight coil but the top is a looser curl. My hair loves it when I use defining creams, a light leave in conditioner and a gel as my styler. My hair can hold in moisture for about 4 days, but after that I need to apply more water and more cream.
Shampoo
Depending on the season, I change out my shampoo product. Below are my two favorites for my hair type. These provide my hair with the cleansing benefits it needs but doesn’t strip my hair completely; leaving it dry and brittle. My hair still feels moisturized when I rinse out my shampoo.
Shampoo 1 | Shampoo 2
Pro Tip:
Only shampoo at the base of your head massaging the product into your scalp. When rinsing, let the shampoo travel down your hair strands to void stripping the length of your hair and removing too much “sebum”
Conditioning
Next is conditioning! During this step, this is also where I finger de-tangle in the shower. YES! In the shower!! After I apply my conditioner to one half of my hair, I gently finger de-tangle my hair. You can use a wide tooth comb if you can’t stand finger de-tangling but note, this can take out more than just your normal shed hair and reverse the process of you retaining length.
Once I have applied and de-tangled each half section of my hair, I then rinse out the conditioner and repeat one last time.
Conditioner 1 | Conditioner 2
Deep Conditioner
I DO NOT CARE WHAT ANYONE SAYS, YOU NEED TO DEEP CONDITION YOUR HAIR WEEKLY!
You heard me; I deep condition my hair weekly! Hell, sometimes twice a week in the summer when the humidity is trying to play me. If I could tell you one thing about my hair growth journey is that deep conditioning has saved my curls. It honestly gave my hair an actual curl pattern to put me on the chart. If you are to take anything away from this post, it needs to be deep conditioning. I will show you a before and after photo of my hair from deep conditioning every week for 3 months.


The Deep Conditioning Process:
The steps moving forward might annoy you in how I deep condition, achieve a healthy and damn good looking fro, but it is necessary.
First, after rinsing out my second coat of conditioner, I fully coat my hair with my deep conditioner. Once it is evenly distributed to all my strains, I put my hair in a bun and cover it with a cheap plastic hair cap and exit the shower.
Deep Conditioner 1 | Protein Treatment 1
Second, I sit under a heated hair cap attached to my blow dryer for 20 minutes. I have linked both of mine here.
Blow Dryer | Heat cap Attachment
After siting under the dryer for 20 minutes, I then hop back into the shower to rinse and start the styling process. If you have a deep enough sink in your kitchen, you can also do this part there.
The following step is the most important for me to get my products to work and lock in moisture for my hair type. In addition, the order of how i apply my products is a game changer to how i am able to achieve my results. Furthermore, you might want to play around with the order you apply your products based on your hair type and needs.
Here are the types of products you should look for based on your hair type:
Type 1: Straight hair is the easiest to style and can get away with a light pomade or texturizing spray
Type 2: Wavy hair requires a lightweight product that minimizes frizz, including mousses, oil gels or leave-in hair milks
Type 3: Curly hair needs a moderate product that delivers and locks in moisture like those seen in defining sprays, creams or gels
Type 4: Kinky hair benefits from a heavy product that’s rich in nourishing hydration, such as butters and oils
Once back in the shower and my hair is fully cleansed of the deep conditioner, I start to apply my styling products. However, since my hair is a mix between 3c/4a hair types my hair needs to be soaking wet for the products to absorb into my hair shaft and hold the curl.
My Styling Products applied in this order:
Gel/ Mousse
Air dry/ Defuse
Finishing Touches
Finally, once I have all the products in my hair I am ready for the long-awaited air-drying process. I have used a de-fuser before if I was in a rush; but having a loose curl pattern on the top portion of my hair, this did cause some unwanted frizz. In other words, Ya girls curls were HUUUURRTING and bushy the next day. Hence, this is why I prefer to wait it out and air dry.
The next morning before I leave the house, I do apply a bit of hair oil to my curls to add in extra shine and help fluff out my curls. I use my hands to “fluff” out my curls but you can also use a hair pick or wide tooth comb if you have one.
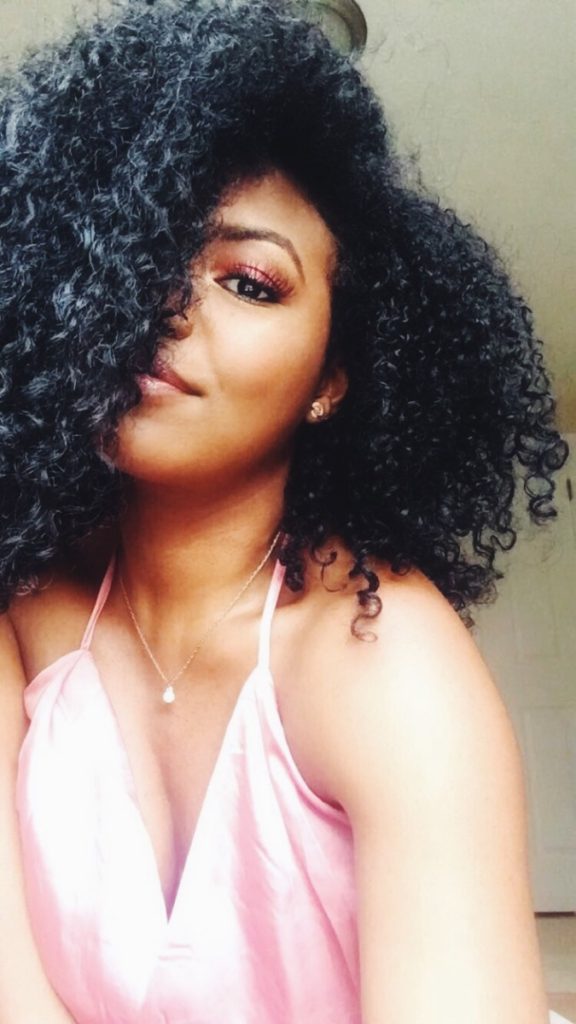
“Insert Bomb Photo of Curls“
In Conclusion
Now You have officially completed my BOMB Wash and go Routine. Above all, I hope this post was helpful and inspiring. Please let me know if you try this wash and go out and tag me or send me your result photos!!!
Shop the Post

Wow! Thanks for the steps and the product recommendations! Hope my curl pattern starts to resemble yours one day!
Take these steps and instead of doing the wash and go portion at the bottom, just apply the products and do a braid out or twist out instead. The main step to healthy hair is deep conditioning.
xoxo, Jenni
I’ve been meaning to leave a comment on this post and the last one (especially the last one). It helped me figure out my hair porosity. This natural hair thing is a new territory for me. Much thanks for your insight..xo
Yay! I’m so happy i was able to help. The struggle can get real with all the info out there and a bit overwhelming for people who are new to the natural hair game. Glad i was able to help you get it all in one place 🙂